This is an extract from bestselling camping cookbook, Fire To Fork, by Harry Fisher. Harry runs one of the internet’s most popular camp cooking YouTube channels, with a new recipe each week. Check it out at youtube.com/harryfishaman or follow him on Instagram @firetorfork.
None of this was ever meant to happen. If you had told an 18-year-old me that I would be making a living cooking over campfires in the wilderness (we Aussies call it the bush), he would have been slightly appalled (he was such a snob). Back then, I was studying all the right things to become an investment banker and make millions. By the time I was 30, I’d probably be living in Sydney or New York, be driving an Aston Martin and living in a mansion. Camping and overlanding were just what I liked because I didn’t have the money to live the high life, right?
I finished university and went to work in the city as a big-shot accountant and wore a suit and tie every day. I enjoyed it, but, whenever a rural file would come in, I would jump on it. Any excuse to get away to the bush!
I also found myself camping more than ever. I’d spend all week dreaming of Friday when I could sneak out as early as possible to go and find a good spot to cook a meal and sleep under the stars. Nothing made me happier than to camp and have a beer with mates around a fire.
On these trips I would be in charge of food (whether the others liked it or not). All week I would read blogs and recipe books, trying to think of something I had never cooked before and try and make it on the campfire.
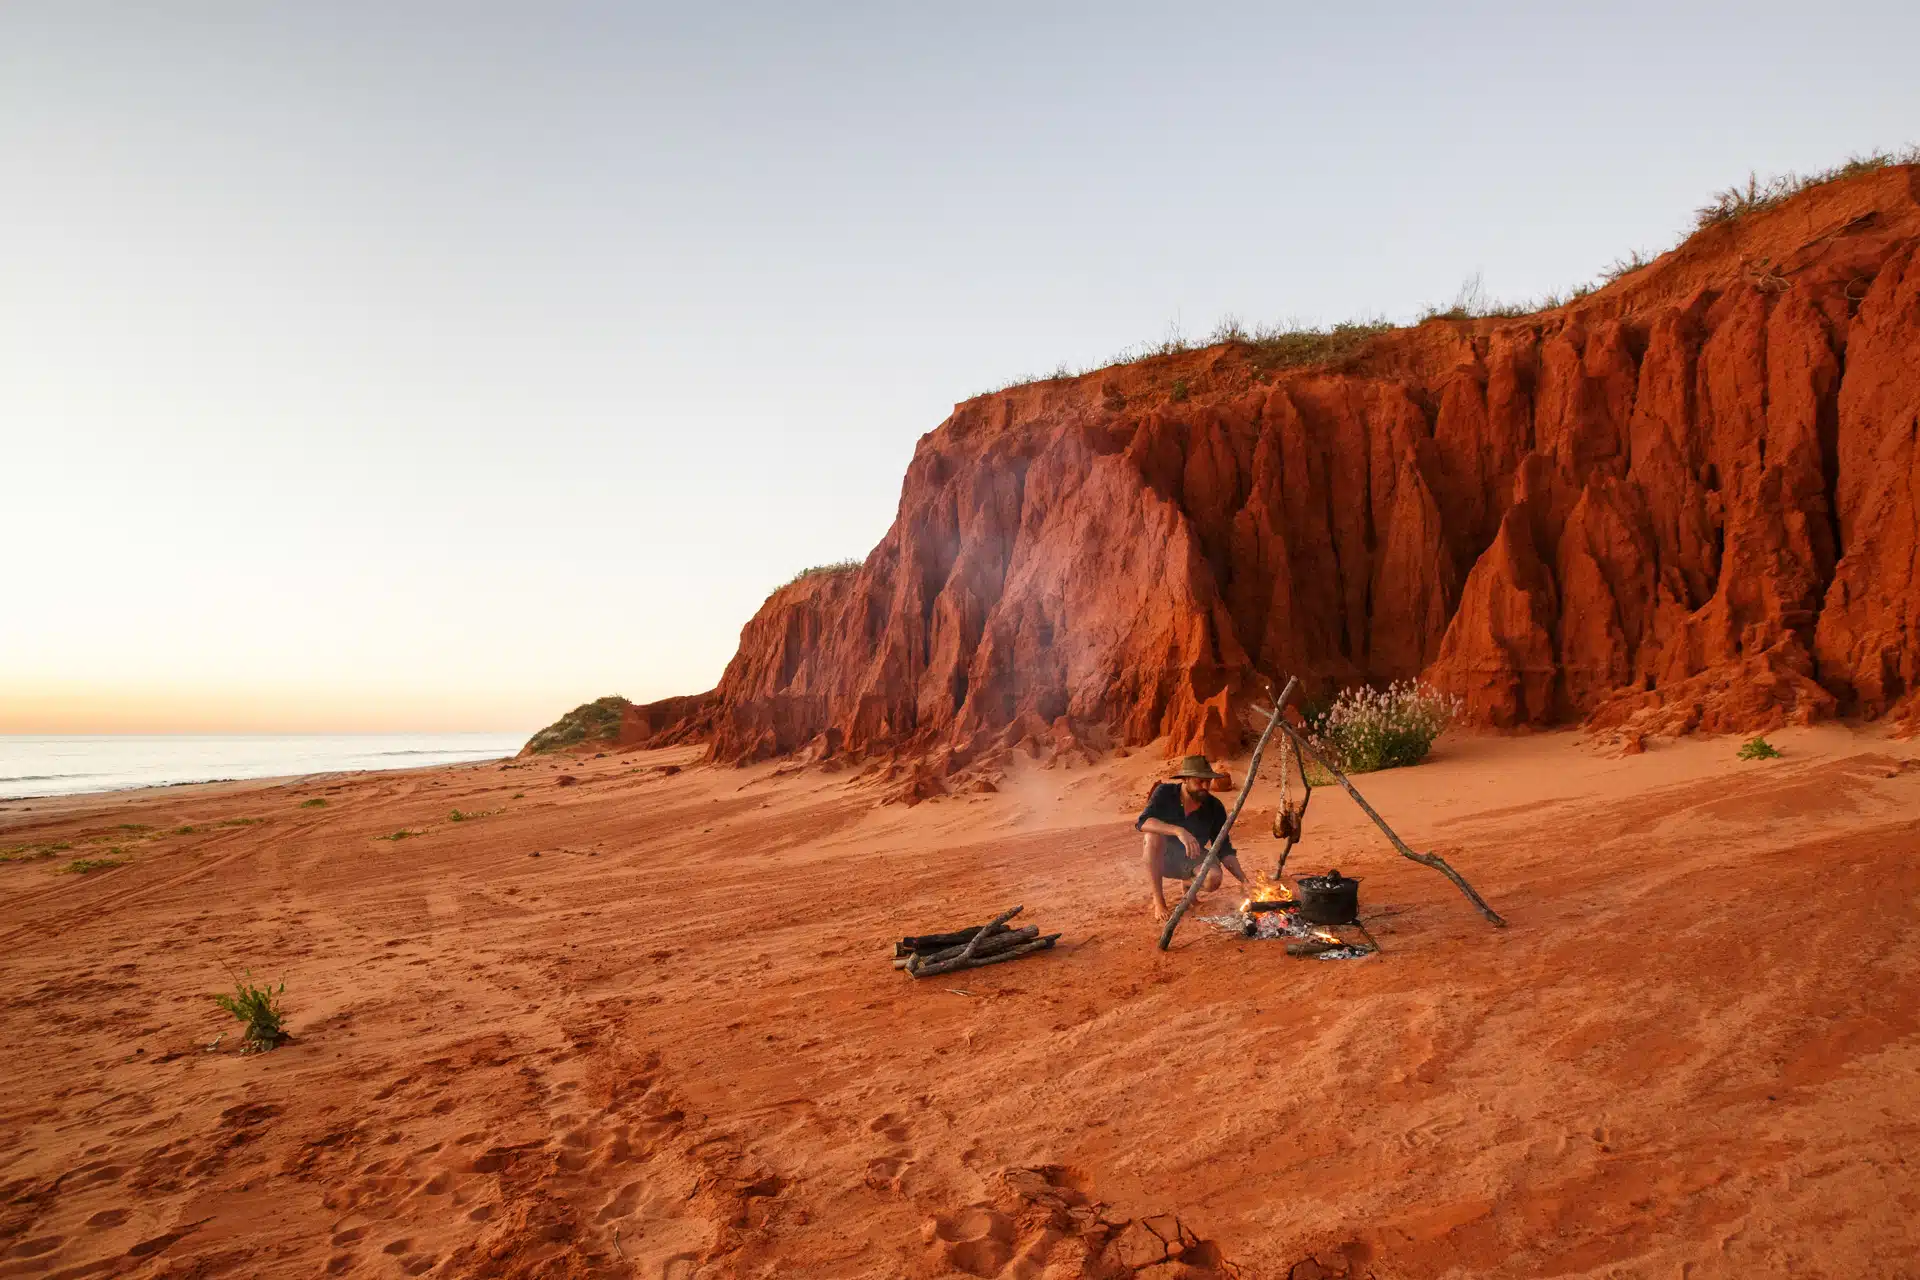
In May 2017, I was at Desert Queen Baths in the Pilbara (remote Western Australia) with a mate of mine, Ronny Dahl. Ronny was an ironworker who was obsessed with making YouTube videos – maybe you’ve watched a few of them. One night by the fire, Ronny told me he was impressed that on a 10-day trip, I hadn’t cooked the same meal twice and that I had cooked everything on fire (even when he brought us into camp at 11pm – there were some very late meals!). He suggested I start an Instagram page and YouTube channel about my cooking. The Instagram page sounded easy enough – I had worked as a photographer at uni, and I had a bit of gear and some idea, but I hated video editing, so YouTube was never going to happen. Until I got bored one camping trip.
People liked it, but it was always a bit of fun and absolutely going to be secondary to my career (I was getting that Aston Martin).
Then, in 2019 the small software company that I was working for had a bit of a change of direction, so I decided to resign and take a month or two to assess my options and find a similar job. I definitely didn’t want to do Fire to Fork full-time. I thought I’d start to hate camping and cooking if it became work, and what about my Aston?
I never did get that new job. I gave up entirely on my Aston (for now, anyway), married my girlfriend, Sam, and I have never loved cooking or camping more. The recipes in my book are the highlights of that journey.
ULTIMATE CAMP COOKING GEAR GUIDE
Over many years and far too much money, I’ve trialled and discarded all sorts of camp cooking gear. What I’ve found is that the traditional, heavy, and often cumbersome pieces of equipment aren’t necessarily the best if you really want to get the most from your food. This is far from an exhaustive list of my gear or a list of must-haves, but with these few items, you should be able to make everything in this book comfortably.
The brands I mention are not essential (especially if you already own a version of one of these items), but they are the ones I have tested and recommend to my friends and family.
Frying Pan
While I prefer to use a simple cast-iron skillet, I actually carry a Sea to Summit Alpha non-stick, lightweight hiking pan. It is absolutely not the ideal tool for the job because it will get scratched and ruined over time. But, after a few years of heavy use, I haven’t managed to kill it. If weight and bulk is an issue for you, I recommend one of these. If you have space, look into a Hillbilly Blue Steel Pan or a cast-iron skillet. Whatever you get, just make sure it has a folding or removable handle.
Pots or Billy
I should preface this by saying that the Sea to Summit Sigma pots I use are definitely not recommended for an open fire. After two years of heavy use, I have finally managed to melt one of the handle’s locking mechanisms on mine. But, if you are careful, they are fantastic. The drain holes in the top and the measuring increments printed inside are really useful, plus they pack into each other, and the handles fold away. But if you want something fire-proof and super reliable, I recommend a stainless-steel billy like a Zebra. Whatever you do, don’t buy an aluminium one; they are shocking in the fire and melt easily.
Camp Oven
I have owned and used many camp ovens in my time – from $350 Japanese hand-finished cast iron ones through to $20 cheapies from Aldi, but none have beaten the design, materials and finish of the Southern Metal Spinners 10-inch camp oven. These have been made in Australia for well over 70 years, and I wouldn’t be surprised if every one that has been made is still in use. I don’t seem to be able to kill them! They don’t crack, are easy to clean, are 75 per cent lighter than cast iron, and the handle design makes them extremely stable and easy to use. You can also use the lid as a skillet in a pinch. A Bedourie oven will also work, but I find them wobbly and they don’t seal as well.
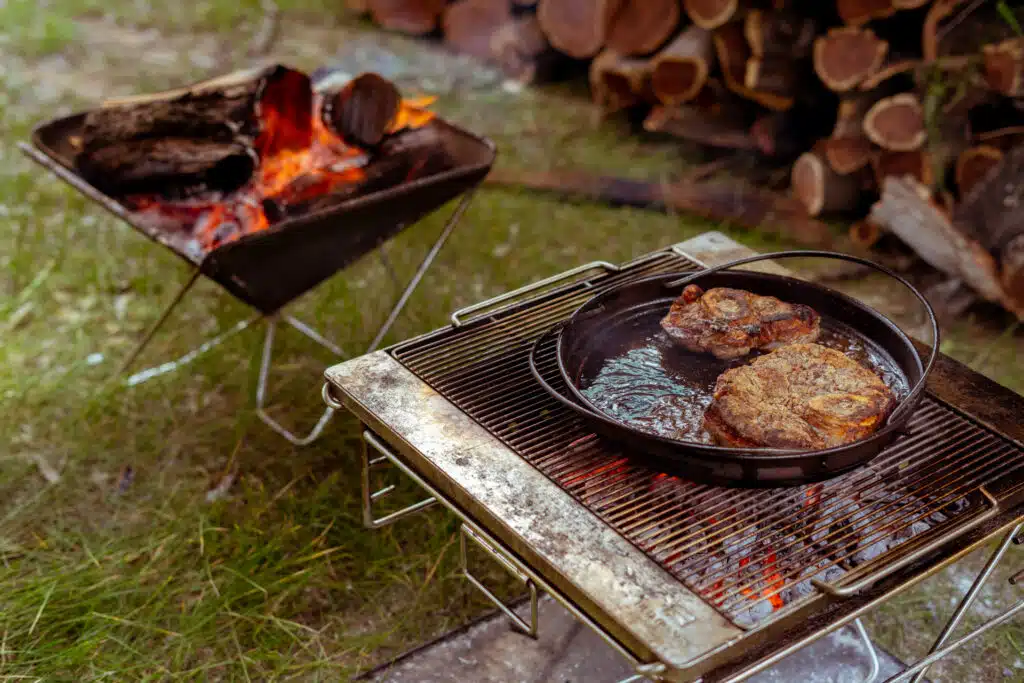
Fire Pit
Increasingly, campsites that allow fires ask you to keep them off the ground, so it’s becoming essential to carry a fire pit. I use the Red Roads Blaze large fire pit.
I have used other (far more expensive) brands, but I genuinely prefer this one. The main drawcard is the quality of the bag – it’s thick, lined Australian canvas, and if you want to get extra special, the addition of the riser kit is fantastic to bring it up to a comfortable height for cooking while you stand. Red Roads is a small Aussie business, so they’re often out of stock. If that’s the case, a good, cheaper option is the OzBraai Oz Pit, but I don’t think the bag is as good.
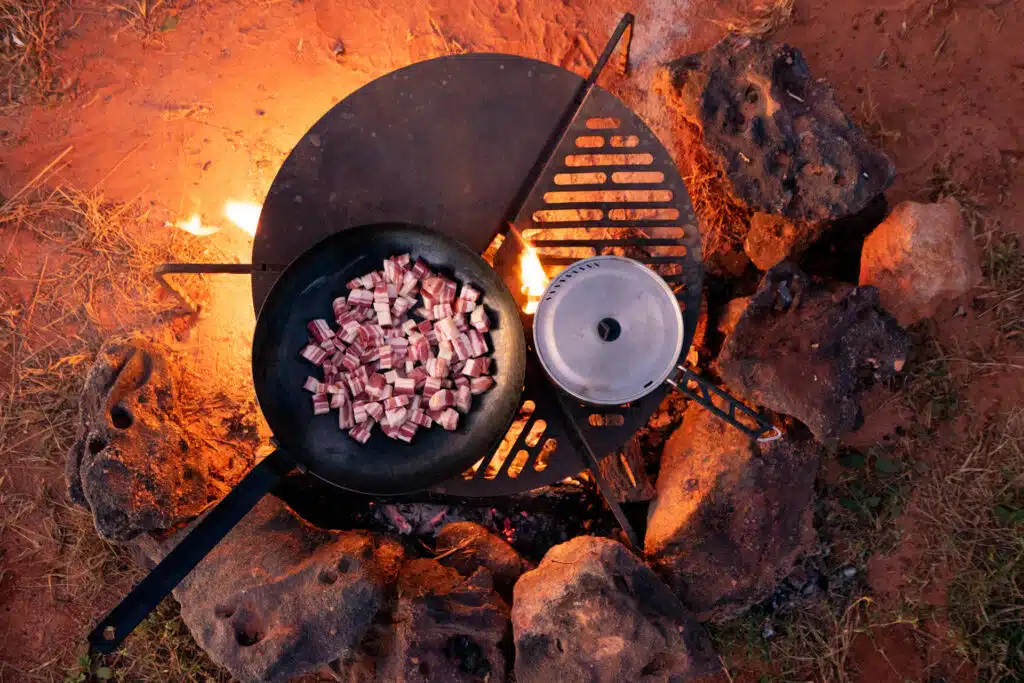
Wok
A wok is incredibly useful, and I would strongly recommend buying one over a frying pan or skillet if you can’t have both. I have a Hillbilly 350mm Wok with a folding handle and use it for pasta, chilli mud crab, stir-frying, fried rice and I even cook bacon and eggs in it. I used it instead of a frying pan for around five years, and it did a great job. The deep design of woks makes them very forgiving and hard to spill when you (inevitably) have your hot plate on an angle or want to drop it straight on the coals. Things to look for are a folding metal handle, a flat bottom, and avoid non-stick surfaces.

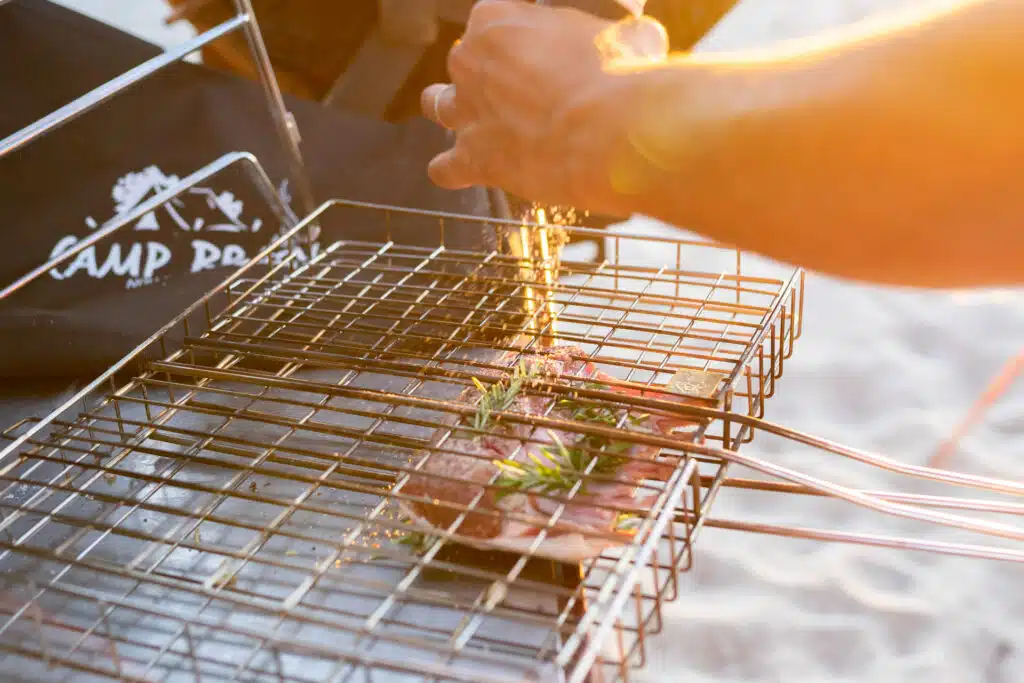
Grill Basket
I have always been a massive fan of the grill baskets. I use them for cooking everything from a whole chicken or fish through to field mushrooms, asparagus or a truckload of toasted sandwiches. The best I have come across are OzBraai’s Camp Braai (large) and Travel Braai (small), which you’ll see used in heaps of my recipes. You don’t have to use these, but if you are looking for one, it’s important that they have a retractable handle, adjustable thickness for different ingredients, a stand with a clip to hold it steady, a good bag, and most importantly, it must be stainless steel.
Grill Plate
Over the years, I have used a few different designs, and I was a big fan of one that fit over a spare wheel, but unfortunately, the design has changed, and the legs are aluminium which melt in hot fires. Now, I use OzBraai’s Braai Grid (which I had input into the design of) and I couldn’t be happier with how it turned out. Whatever you use, I recommend one that’s stainless steel, or it will rust badly. Choose one that has three legs, as they’re more stable than four legs on uneven surfaces, and I think they should always come with a bag because they always get filthy.
Probe thermometer
Most people get by without a thermometer, but for some recipes (especially anything deep-fried or reverse-seared), knowing the precise temperature is crucial to success. Without one, it’s like using an oven but ignoring the temperature settings. I use a Javelin Thermometer, but any quick-read thermometer will do the job. If you buy just one thermometer, get this one over the infrared alternative as it is more accurate and will give you internal meat temperatures.
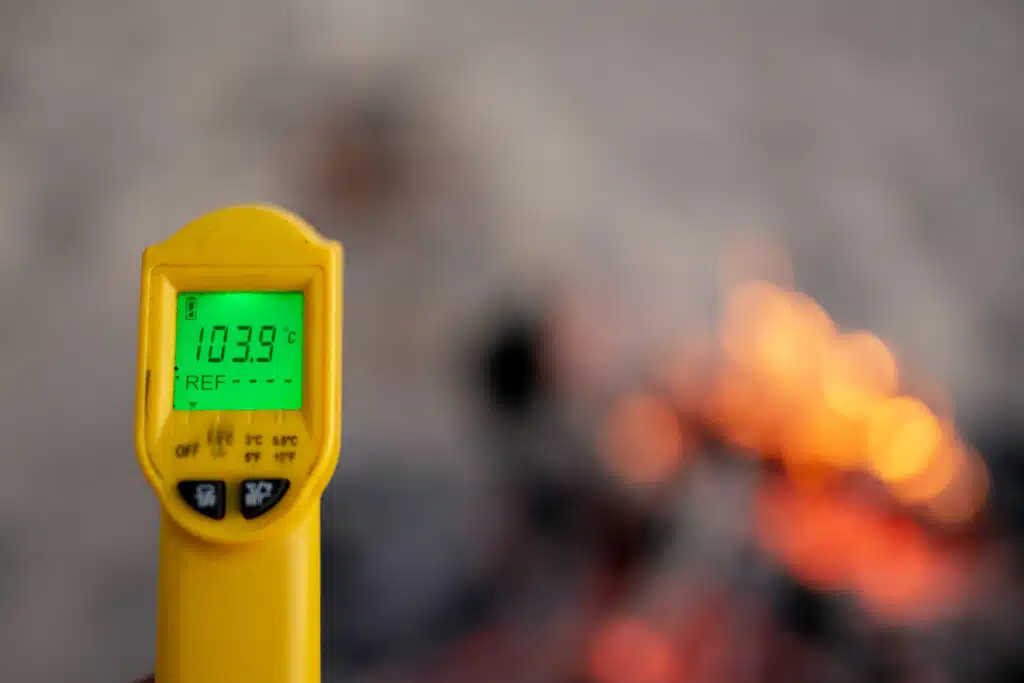
Infrared thermometer
We’re getting serious now, but these are really good for deep-frying oils or placing meat in the correct place when you’re slow-cooking or reverse searing. I also use mine, a Stanley one, to check my trailer bearings. Just remember that the closer you are to the target, the more accurate the reading will be.
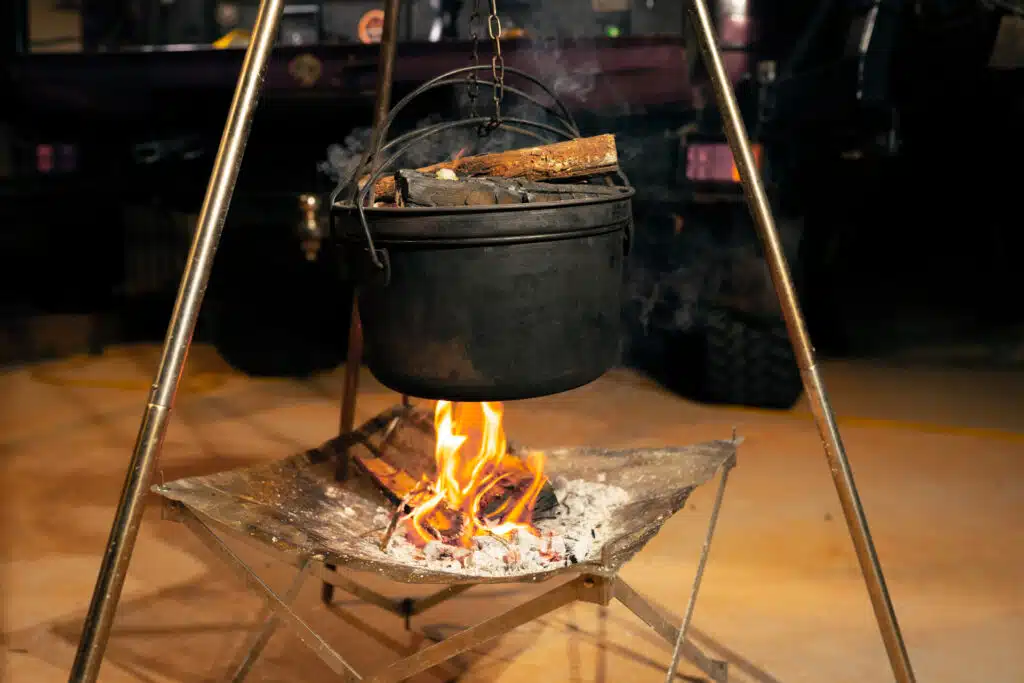
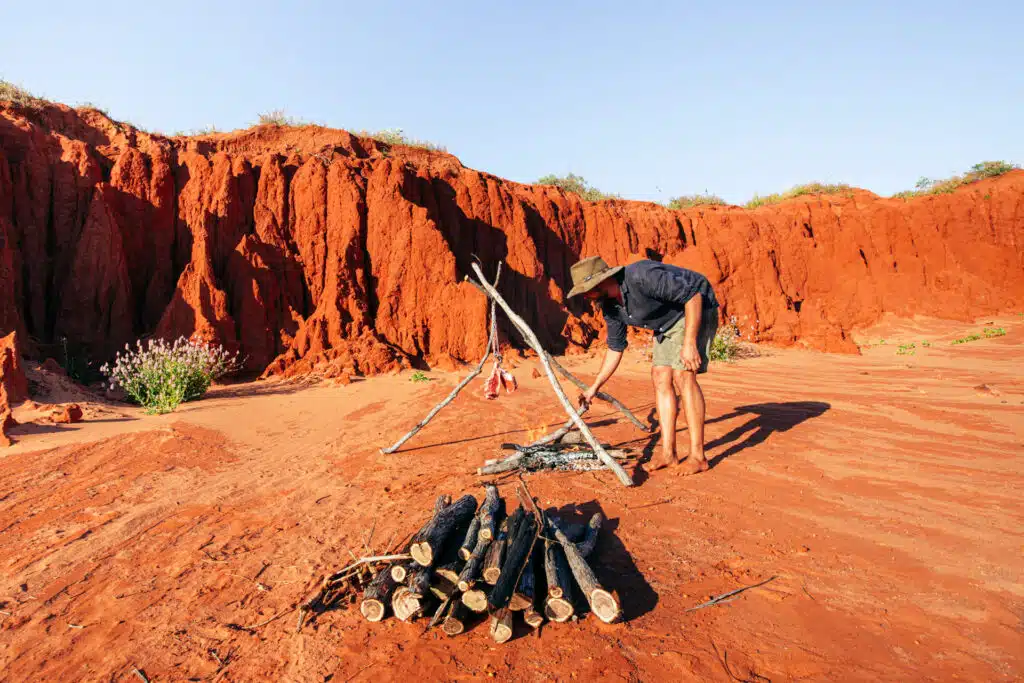
Campfire Tripod
I have a love/hate relationship with tripods. I find them fiddly and not sturdy enough (not the tripod itself, but whatever implement is hanging from the chain). Still, I absolutely love the adjustability and the fact they don’t tip over. Most of all, the look they give to a campsite is timeless – camps just look better with a tripod in them. I use a Red Roads collapsible version, but making your own from sturdy sticks is a great option. Bring some chain and butcher’s hooks.
Gloves
There are all sorts of tools for moving really hot things around, but using welding gloves gives you so much more flexibility and safety than using anything else. I find gloves particularly useful for handling hot logs and arranging my fire properly. I use Kevlar-lined Thermic Lance gloves. They are expensive, but they are by far the toughest I have come across. If you don’t want to fork out for these beasts, I recommend getting a set of standard welding gloves from your local hardware store.
RECIPE
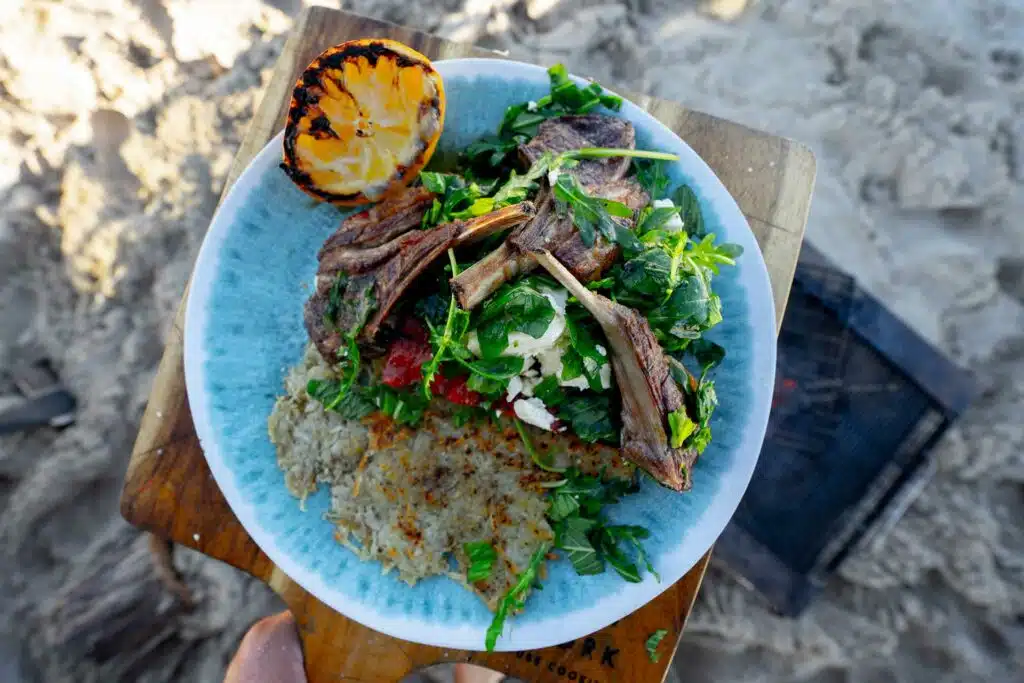
Lamb Cutlets and Grilled Watermelon
Prep: 15 mins | Cook: 20 mins | Serves: 2
INGREDIENTS
- 4 white or russet potatoes
- Extra virgin olive oil
- Salt and pepper
- 2 slices of watermelon (20cm-15cm)
- 6 lamb cutlets
- 1 lemon
- 2/3 a cup of fresh mint, chopped
- 1/2 a cup of rocket lettuce
- 120g of crumbly feta (Danish style)
GEAR
- Frying pan
- Grill plate or grill basket
METHOD
Get started by grating four potatoes coarsely and squeezing the excess moisture out of it as hard as you can. Repeat the squeeze with some paper towel or a tea towel, to absorb as much of the starchy water as possible. Oil up a pan and spread out the potato hash with some salt and pepper, then chuck it over a high heat and cook until both sides are golden and crispy.
Meanwhile, cut two large slices of watermelon and grind some salt and pepper over one side. You have probably never considered cooking watermelon before, but incredibly, as the water cooks out and the outside caramelises, it’s structure changes and the taste really develops. You’ve got to try it. If you have a grill basket, set the slices in it so it’s easier to flip.
Cover the cutlets in olive oil, salt and pepper and add them to your basket, or grill both the meat and watermelon on medium-high heat over the flames until they have browned well on both sides. If the watermelon caramelises early, set it aside while the lamb finishes.
While it’s all cooking, place half a lemon (cut across the grain) on the grill, flesh side down, until the flesh has blackened. Then, combine the mint and rocket in a bowl and cover with olive oil, salt and pepper.
When everything is cooked, stack the elements in this order – watermelon, crumbled feta, lamb and greens with the potato hash to the side. Serve it with a generous squeeze of the lemon over everything.
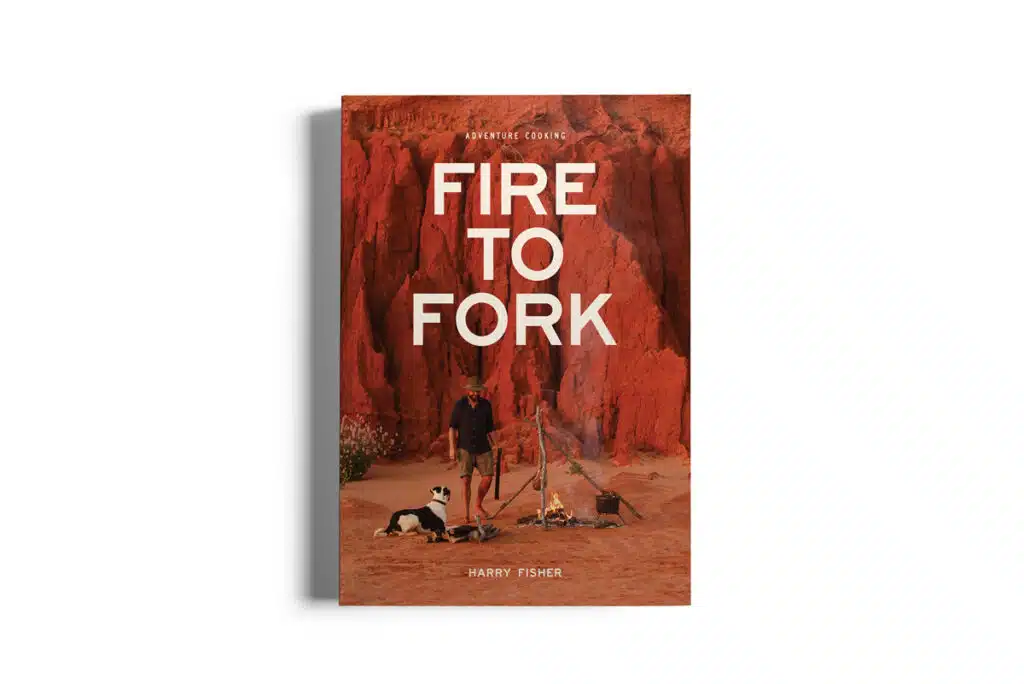
Fire To Fork is published by Exploring Eden Media. It’s available where all good camping books are sold, or directly from imray.com. For every copy sold, one tree is planted.